
Steps for External Nodes to Participate in the Harmony Testnet
Apr 06 2019
Below are the detailed steps for external nodes to join the Harmony Testnet.
Quick FAQs:
Q. Is the Harmony Testnet currently a live, running blockchain?
A. Yes! You can see the block explorer here: https://explorer.harmony.one/#/
Q. What is the value of joining?
A. The value in joining our Testnet is to be able to connect your node to our live blockchain and particiapte in consensus. Although, there are no rewards right now, but thank you for helping us to pioneer, Harmonier!
We will be releasing details about the staking rewards in coming weeks.
Q. What can external nodes do on the Harmony Testnet?
A. Nodes can join the Harmony Testnet network, create blocks, and process transactions, which can be viewed at explorer.harmony.one
Q. How can I see what my node has contributed to the Harmony Testnet?
A. As a node operator, you can see the log file via a script that we’ll provide.
You Will Need
- A computer with an Internet connection
- An AWS (Amazon Web Services) account (Note: Initially, this guide will only be for AWS and will be updated in the coming weeks for Mac & Linux.)
- A credit card (to create a Amazon Web Services account)
- A phone number that receives either voice calls or text messages (for AWS account)
Questions? Continue to the comprehensive guide that follows the quickstart.
Quickstart (More detailed instructions follow. This is for experienced users only)
Step 1: Spin up a node/instance
- Have or create an AWS account
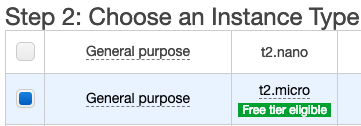
- Start EC2 instance (t2.micro) using Amazon Linux 2 AMI
- Security group setting: all ports open to public
Step 2: Connect the node to the Harmony Testnet
- In Terminal, connect to your AWS instance
- Run command:
curl -O https://raw.githubusercontent.com/harmony-one/harmony/master/scripts/node.sh
(downloads node.sh script, which will automate the process of downloading and running the Harmony binary) - Run command: chmod +x node.sh
(sets the executable permission of the script and ensures that the script is executable) - Final command: sudo ./node.sh
(wrapper script)
AWS Account Creation and Setup
- Create your account:
https://portal.aws.amazon.com/billing/signup#/start
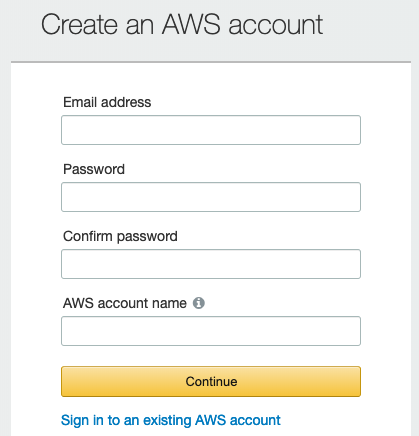
Have a credit card & phone ready. New users get access to a free one-yeartrial, otherwise it will cost ~$0.01 per hour.
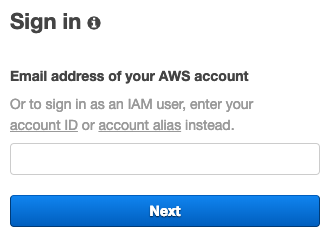
2. Log in: Use your email address and password
3. Click ‘Launch a virtual machine’ on your dashboard, then follow these steps:
Step 1:

Step 2:
4. Click ‘Configure Security Group’

5. Click the ‘Add Rule’ button, then select ‘TCP’ and the ‘Source’ should be ‘Anywhere’
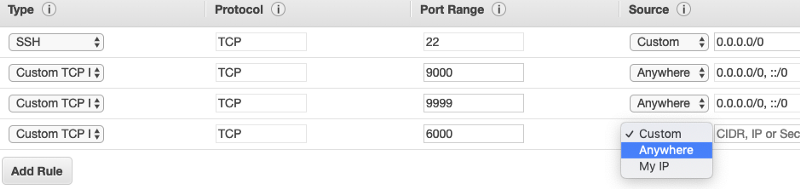
Add each of these three numbers in ‘Port Range’: 14555, 9000, 9999, and 6000.
6. Click ‘Review and Launch’ at the bottom of the screen

Then click ‘Launch’

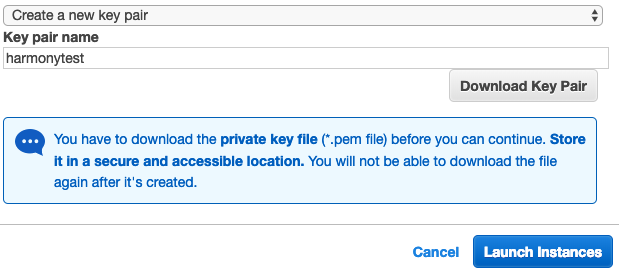
7. When this window pops up, select ‘Create a new key pair,’ name it, then click ‘Download Key Pair’ to save it locally on your computer. Then click ‘Launch Instance’
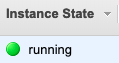
If you click ‘View Instances,’ you will see that it takes about a minute for the instance state to indicate that your instance is running.
If you need additional support, please carefully review the instructions above. AWS provides similar instructions here. If neither works, connect with us on Discord.
Connecting to your AWS instance
Amazon provides a comprehensive guide here.
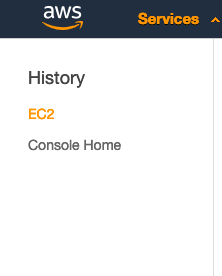
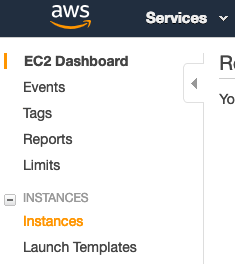
- From your AWS dashboard, click ‘Services’ (top of page) and then ‘EC2’ then ‘Instances’
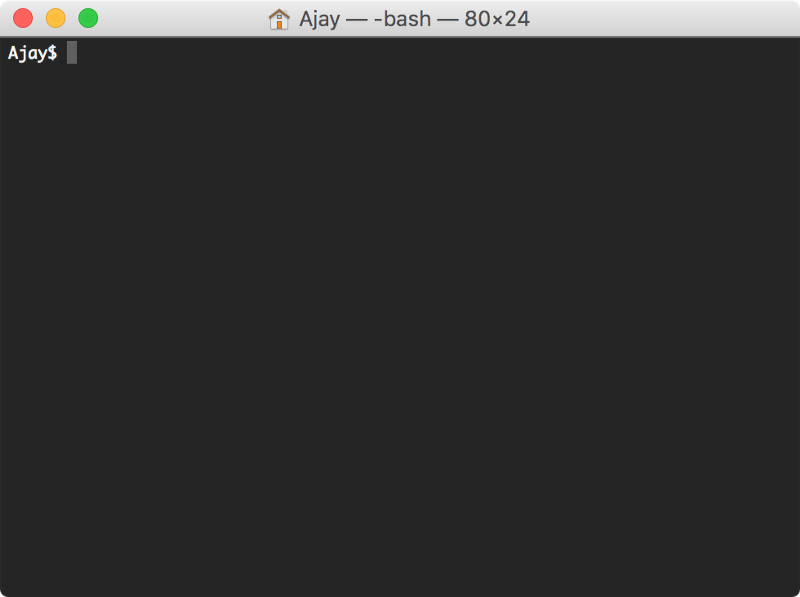
2. If you’re using a Mac, press the ‘command + spacebar’ keys, then type ‘terminal’ and press the ‘enter’ key. Something like this should appear
You may use your own SSH (secure shell) client and AWS provides its own comprehensive SSH guide here.
3. Change to the directory that you saved your key pair ‘harmonytest.pem’
Use the command ‘cd’ to change directories.
For example, I saved mine in ‘downloads,’ so I used this command: cd downloads
Then execute this command: chmod 400 harmonytest.pem
4. Click ‘Connect’ and copy the command to connect to your instance

5. Copy and paste the ‘example’ command to connect to your AWS instance. It should look like this:

Install Your Harmony Node
Connect your AWS instance to the Harmony Testnet
- In Terminal, once connected to you AWS instance, execute this command:
curl -O https://raw.githubusercontent.com/harmony-one/harmony/master/scripts/node.sh
(downloads node.sh script, which will automate the process of downloading and running the Harmony binary)
2. Then execute this command: chmod +x node.sh
(sets the executable permission of the script and ensures that the script is executable)
3. Finally, execute this command: sudo ./node.sh
(wrapper script)
🎉 Congratulations! 🎉
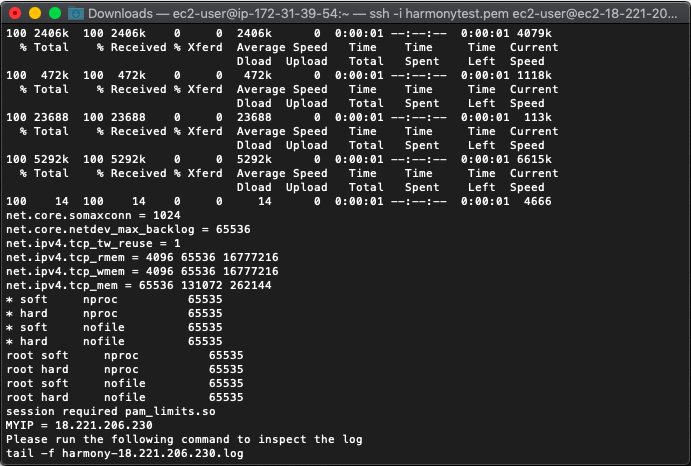
You are now running a node on the Harmony Testnet ⛏️
Thanks to Gavin for detailing out these instructions!